
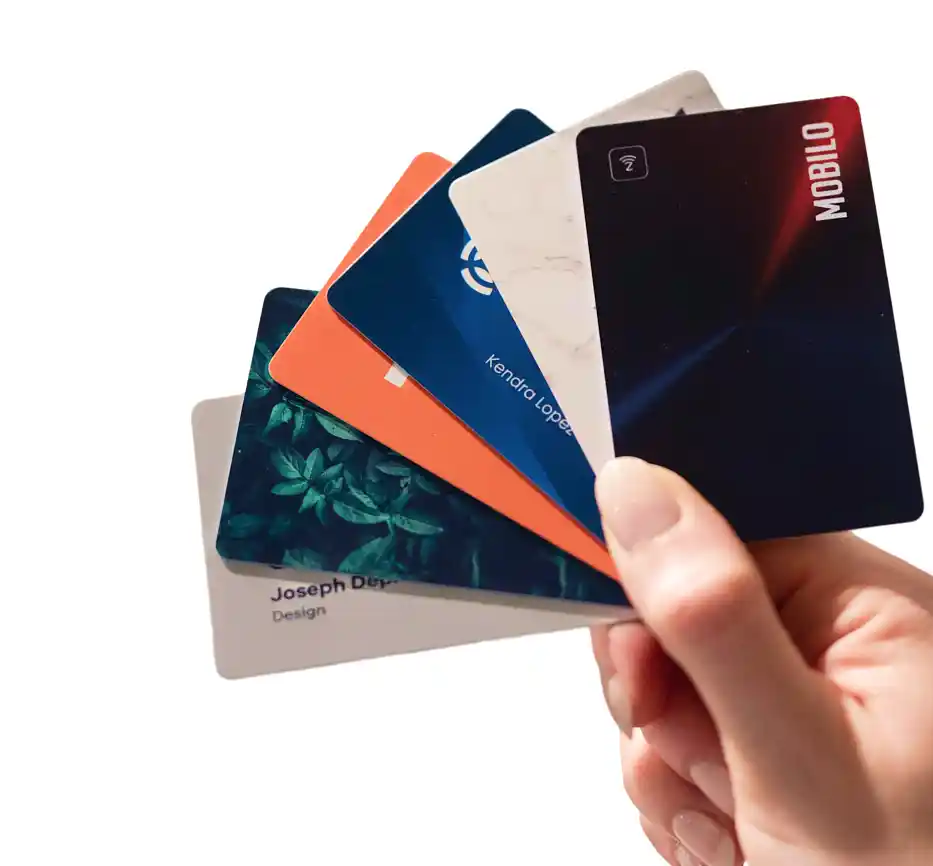
.avif)

2. Filling out your profile
Let’s get started by familiarizing ourselves with the new ‘Profile Settings’ menu.
As you can see, your profile is now divided into four sections:
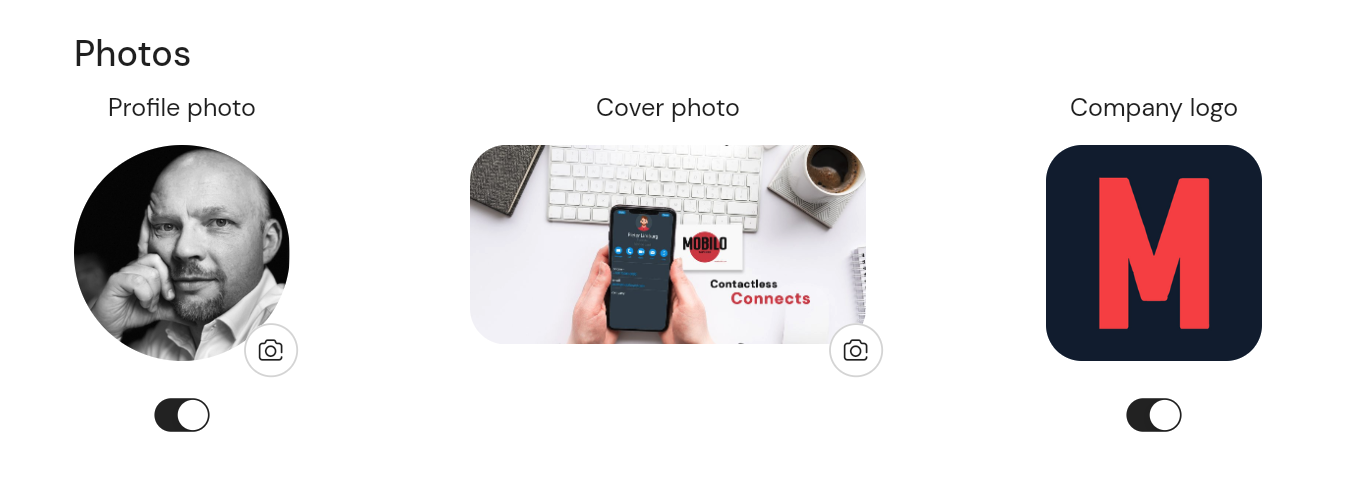
Photos: This is where you add your profile picture and cover photo and turn on and off the company logo:
About: Here, you can add your full name, job title, company, address, and notes.

Theme: This is where you control how your landing page looks.
The ‘Theme’ button has color controls to modify the header, background, and text colors.

Header type: Allows you to switch between four different styles:
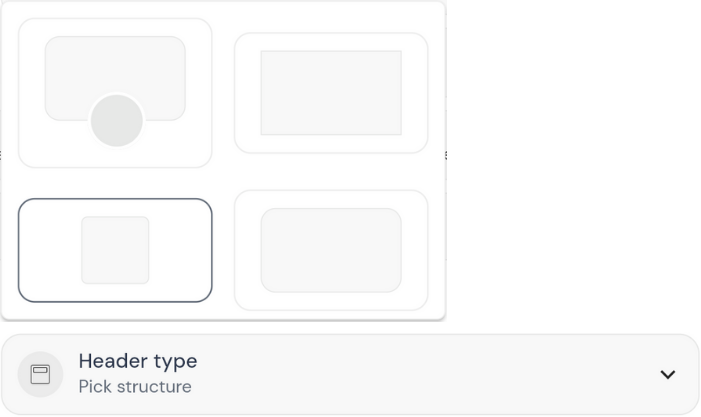
Option 1: Adding a profile picture on top of your header design.
This option creates a visual connection between your image and the overall branding of your landing page, adding a personal touch.
Option 2: Displaying the header background or card design with sharp edges and no profile picture.
This option offers a sleek, modern look, allowing your content to take center stage with a clean, minimalist style.
Option 3: No header and a bigger squared-shaped frame for the profile picture.
This option focuses on a prominent profile picture, immediately representing your identity to your contacts.
Option 2: Displaying your card design or any other image as a header with no profile picture.
This option emphasizes your captivating card design or a custom image representing your brand or personal style without featuring a profile picture.
Content: Here’s where you can control what information is shared by your personal landing page (what your contacts see when the card is tapped) and the contact card (what your contacts download).
By clicking on the ‘Add content’ button, you’ll access a list of all the links and content you can add to your profile.

Select all the links you want to share on your landing page and click on them to edit. A new menu will appear, allowing you to customize the link details. Change the title of the link to make it descriptive and relevant. Add a brief description to provide additional context or information about the link. Modify the icon and button colors to align with your branding and design preferences. You can even upload a custom icon to personalize the link further.
Repeat the same process to add other links, such as email addresses, phone numbers, or social media profiles. Customize each link's details to ensure they are meaningful and beneficial for your contacts.
To showcase a video click on the "YouTube" icon add the video link and then click the "Save" button, the video will be embedded on your landing page for your contacts to view..
To add an "About Us" section or any other text content, click on the "Text" button. Use the "Heading" text option to create bold and attention-grabbing titles. Utilize the "Body" text option for regular font style, which is suitable for longer descriptions or biographies.
To add images to your landing page, click the "Image" button. Use the "Upload" button to select an image from your computer. Optionally, add a caption to provide additional context or information for the image.
Once you've added all the desired content to your Personal Landing Page, save your changes to apply them.
