
.avif)


What you need to know
Here comes the fun part! Let’s design your card. We don’t have a live editor just yet, so we have a team of designers that will assist with the whole process until you’re ready to approve the design.
Login in. Know your platform
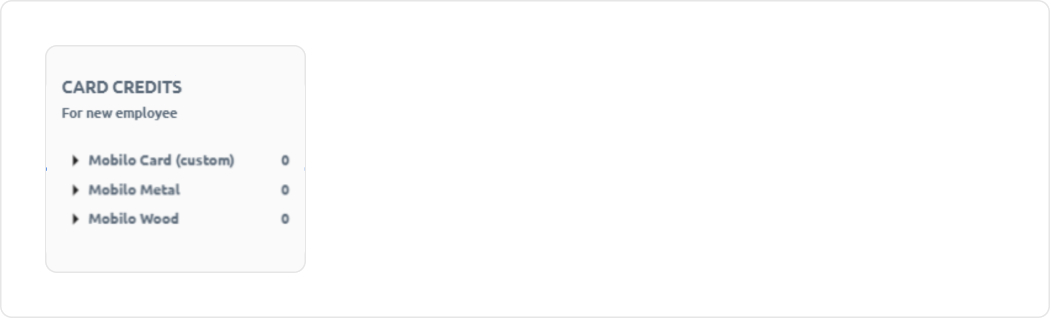
Log in to https://buy.mobilocard.com/ using the same email and password you used to place the order. Once you’re logged in, you will see how many credits you have to design cards. (The number must match the number of cards you purchased but haven’t designed yet):
Right below, you will see these 3 options:
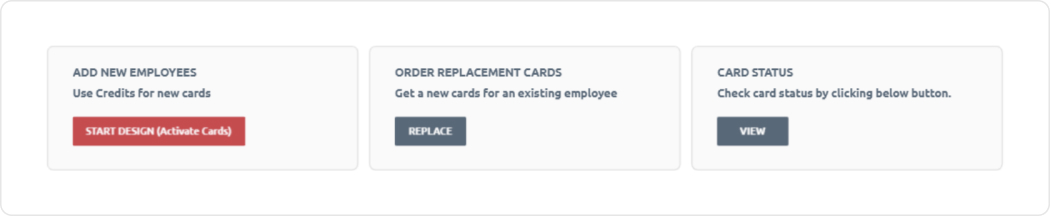
The button “Start Design” is to begin with the process. We’ll cover that in the next section.
Order replacement cards will redirect you to the buying portal in case you need to replace your card
The card status with the “View” button will allow you to see the print proofs that our design team has created so far for you. We’ll cover more about this in the “Checking Print Proofs” section.
Submitting for the first time
Before you start the submission, we need you to provide us with an idea of what you want your card to look. If you have logos, artwork, color palette, or any instructions to design the card, you will be able to leave them when submitting the design. Let’s get started.
Once you click on the “Start Design” red button, you will see 5 steps:
- Card Selection
- Card Design
- Contact Information
- Shipping Address
- Email Communications
Let’s go 1 by 1.
Step 1. Card Selection
Select the type of card you purchased and how many cards you want to design at a time (in case you purchased several cards. If you purchase only 1 card for the first time, then this step will be skipped and it will take you to step 2.)

At the top of the screen you will see how many credits you have available and below you have the drop downs:
- Card Type: Select the card you will design (Plastic, Wood, or Metal)
- Card Variation: Is it just a single card? Or does it come with accessories? (this field normally auto populates once you select the card type)
- Number of employees: How many cards are you designing at a time.
Once you complete this, you can click on “Next” to move to the step 2.
Step 2. Card Design
If you have designed a card before, you will see the following screen where you can decide if you want to start from scratch or if you want to use the design previously created.
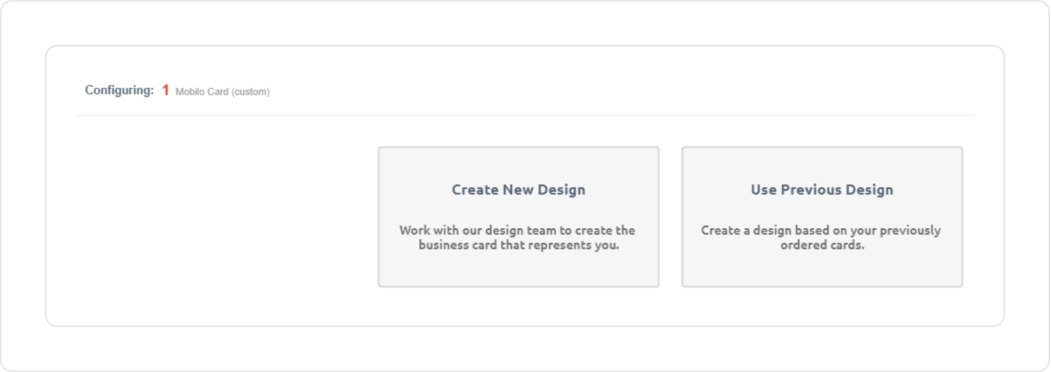
As a brand-new user, we advise you to select “Create New Design” and that will take you to this screen:

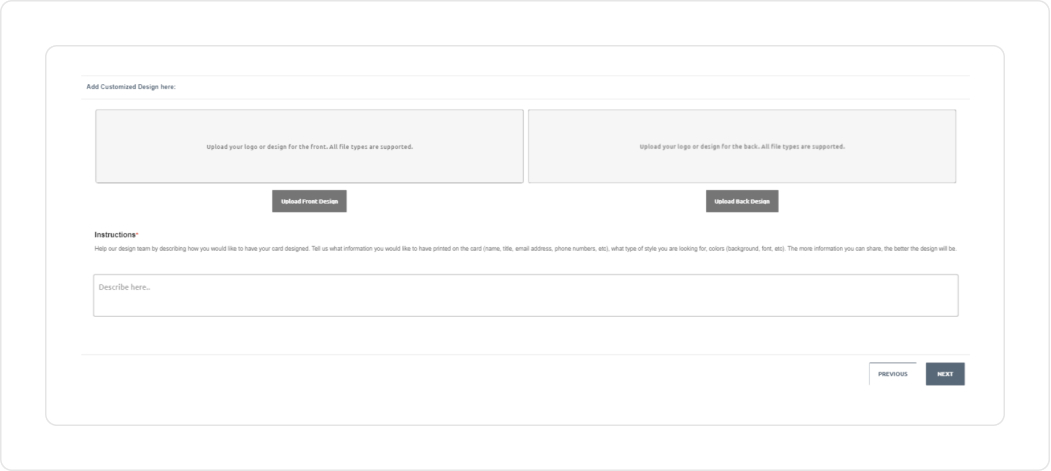
You can select one of the recommended layouts if you’d like, or you can select the option “I will share an example”. That way, when you scroll down, you’ll have the option to add your own files to design the cards. We accept all graphical file types (Psd, Png, Jpg, AI, Eps, PDF, etc.) as long as the resolution is the highest as possible.
You also have a box called “Instructions” where you can leave notes about what you want to see on the print proof. You can be as detailed as you want! The more details you provide, the better.
Once you complete this, you can click on “Next” to move to the step 3.
Step 3. Contact information
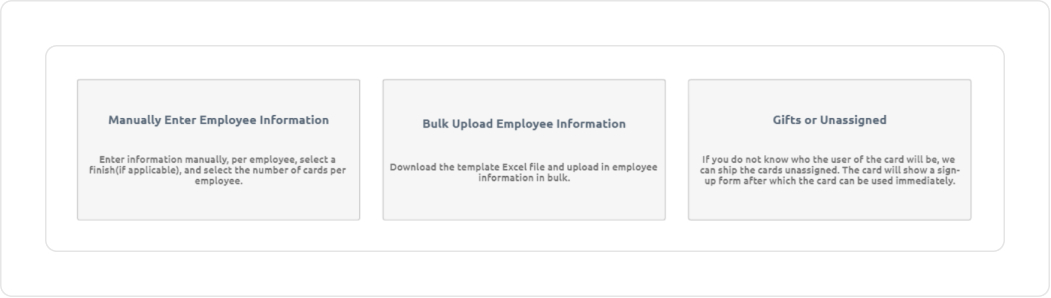
Thinking about how to make things easier for you, we offer you 3 options to upload the contact information for the cardholders. (This will be the basic information for us to create the account and grant you access to the Mobile app.)
Whenever you click on any of these options, you will move to step 4. Let’s take a look.
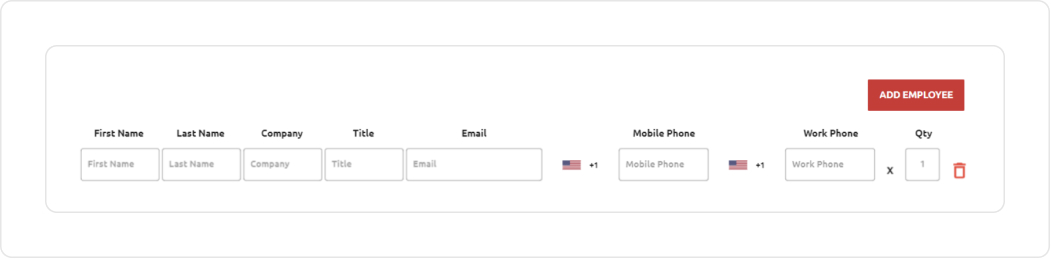
The first option is to manually enter the information. When you click on this, you will be prompted to fill out the information of the final user of the card. The only mandatory fields are First Name, Last Name, and Email address. All the other fields are optional.
Please note that if you’re designing 2 or more cards, you need to click on the red button that says “Add Employee” so you can add more rows to input each user’s information, so our system can recognize separate cards are being designed.
The second option is to bulk upload the information. This is mostly used for when you’re designing several cards and you don’t want to input the data of each user one by one. Please keep in mind that you can’t upload any file, you’d need to use the template that’s provides in this step (the download template option is there too, and is in the previous option, the only mandatory fields are First Name, Last Name, Email address, and Quantity).
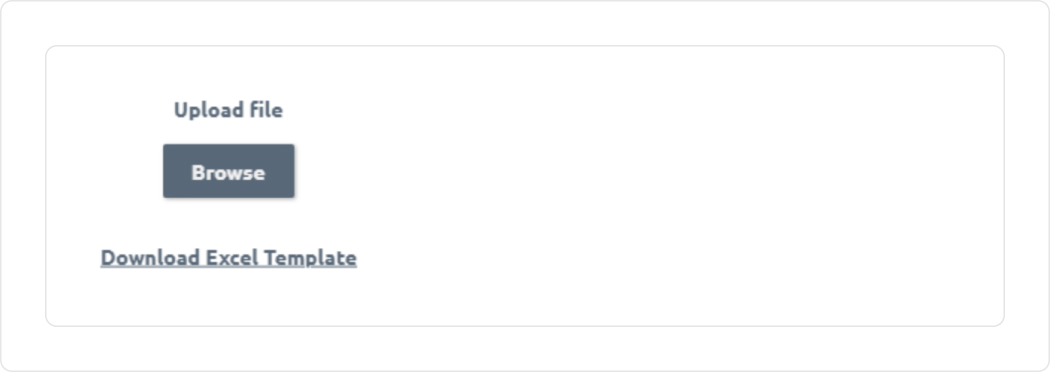
Once you upload the template properly filled out, the platform will show you the same screen as in the first option just for you to confirm that everything is alright. The third and last option is for you to send the card unassigned. This is used if you don’t want to input the information right now, or if you’re giving it away as a gift, so the final user can configure it once they receive it. When you click on this option, it will take you straight to step 4.
Step 4. Shipping address
If you have ordered before, the system will ask you to select the shipping address that matches the latest order you have placed.
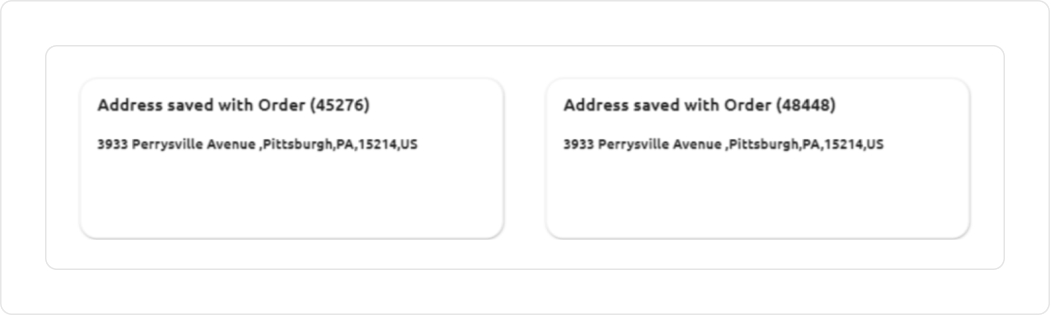
Select your preferred address to continue. If this is your first and only order, the system will skip this step and will take you to the final step.
Step 5. Email communication
You have the ability to select whether you want us to send the cardholder 2 types of email communication: Login credentials and Tips & Tricks.
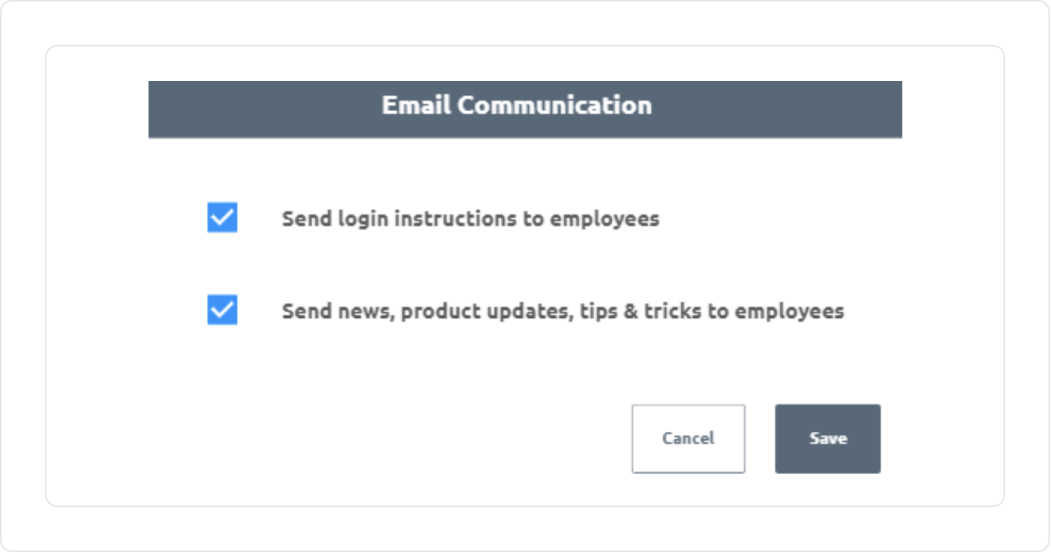
Login credentials is an email with a temporary password for the user to log in to the mobile app.
Tips & Tricks are a series of automated emails triggered by our system with relevant information about how to take advantage of all the features that comes with the cards.
You can have them both, select only one of them, or you can unselect them both not to receive them. It’s up to you!
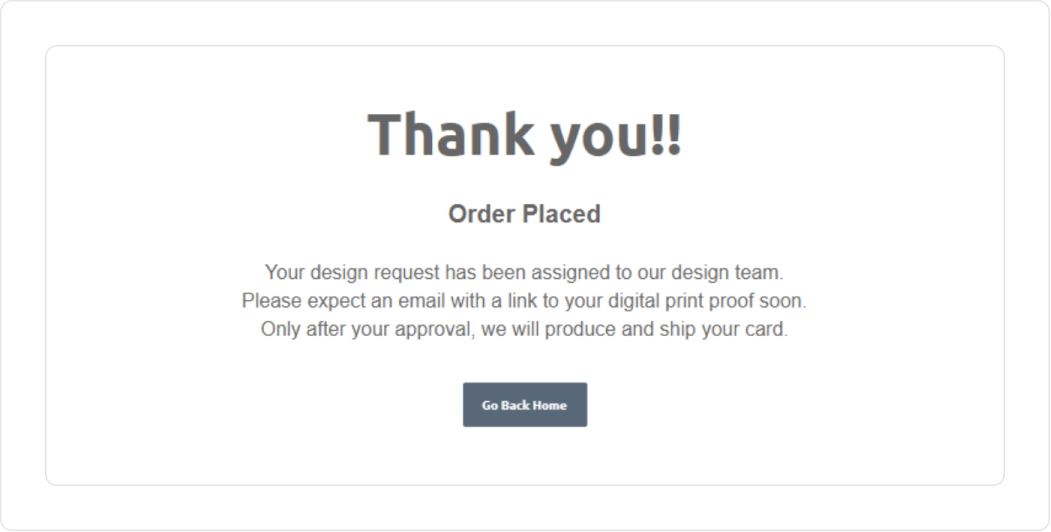
Once you click on “Save”, you will see the confirmation screen telling you the card has been successfully submitted to be designed. When you click on “Go back home” it will take you to the first screen to start another design if you want to.
Our design team takes 24 to 48 hours to create the print proof. Once it’s ready, you’ll receive an automated email to log back in to the portal to review the print proofs. More about this in the next section.
Checking print proofs
You have submitted your cards to be designed. Now what? First, let’s have a little bit of patience while our design team works on your print proofs. No need to check the portal every now and then since you will receive an email letting you know the print proof is ready. Once you receive it, go to the design portal.
Remember this screen?

Click on “View” (the last button to the right) so you can check the different statuses the card can be in.

Design approving
This is the status your card will be in once you receive the notification email. It means that you need to review if the print proof is good to go or if you want to make any changes.
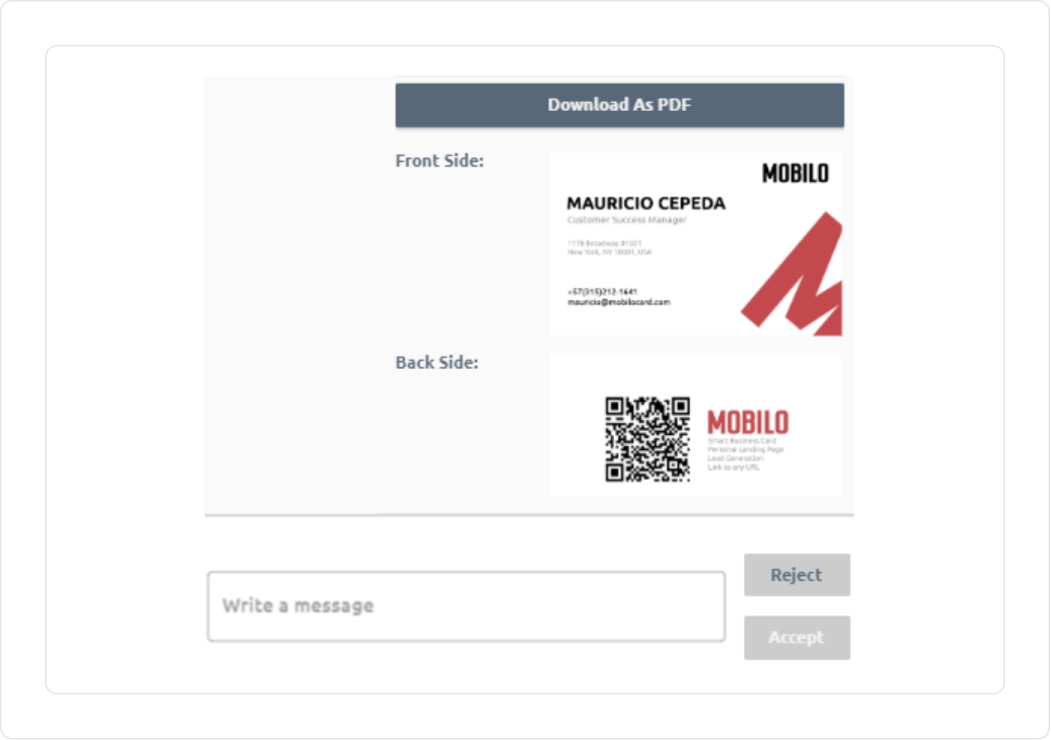
Once you click on Waiting for approval, you will see the print proof. If you click on the preview, you can even download an PDF version so you don’t miss a detail.
Please keep in mind that the QR code in the print proof is just a placeholder for you to see how the card will look. Once the print proof is approved, the correct QR code will be printed on the card.
Design Rejecting
Once you open the preview, at the bottom of the screen you will see an option to Reject the print proof. You must leave a comment about what changes you want to see applied. You can make as many changes as you want until you’re happy with the final design.
If the print proof is looking exactly as you envision it, then you can go ahead and Accept it so the card can go to the production stage! More on this in the next section.
- Design in Progress: The second status you see means that our design team is either working on the first sketch of your card, or working on the changes you sent. Every time you reject a print proof, it will go to Design in Progress stage.
- Printing: When the card is in this stage, it means that you approved the print proof and our team is printing the card and configuring it for you. More on this in the next section.
- Shipping: This stage means that your package is out of our doors and on its way to you! You will get an email with a tracking link for you to keep an eye on.
- Completed: The process has finalized and your card is in your hands now! Time to be out and about with it!
